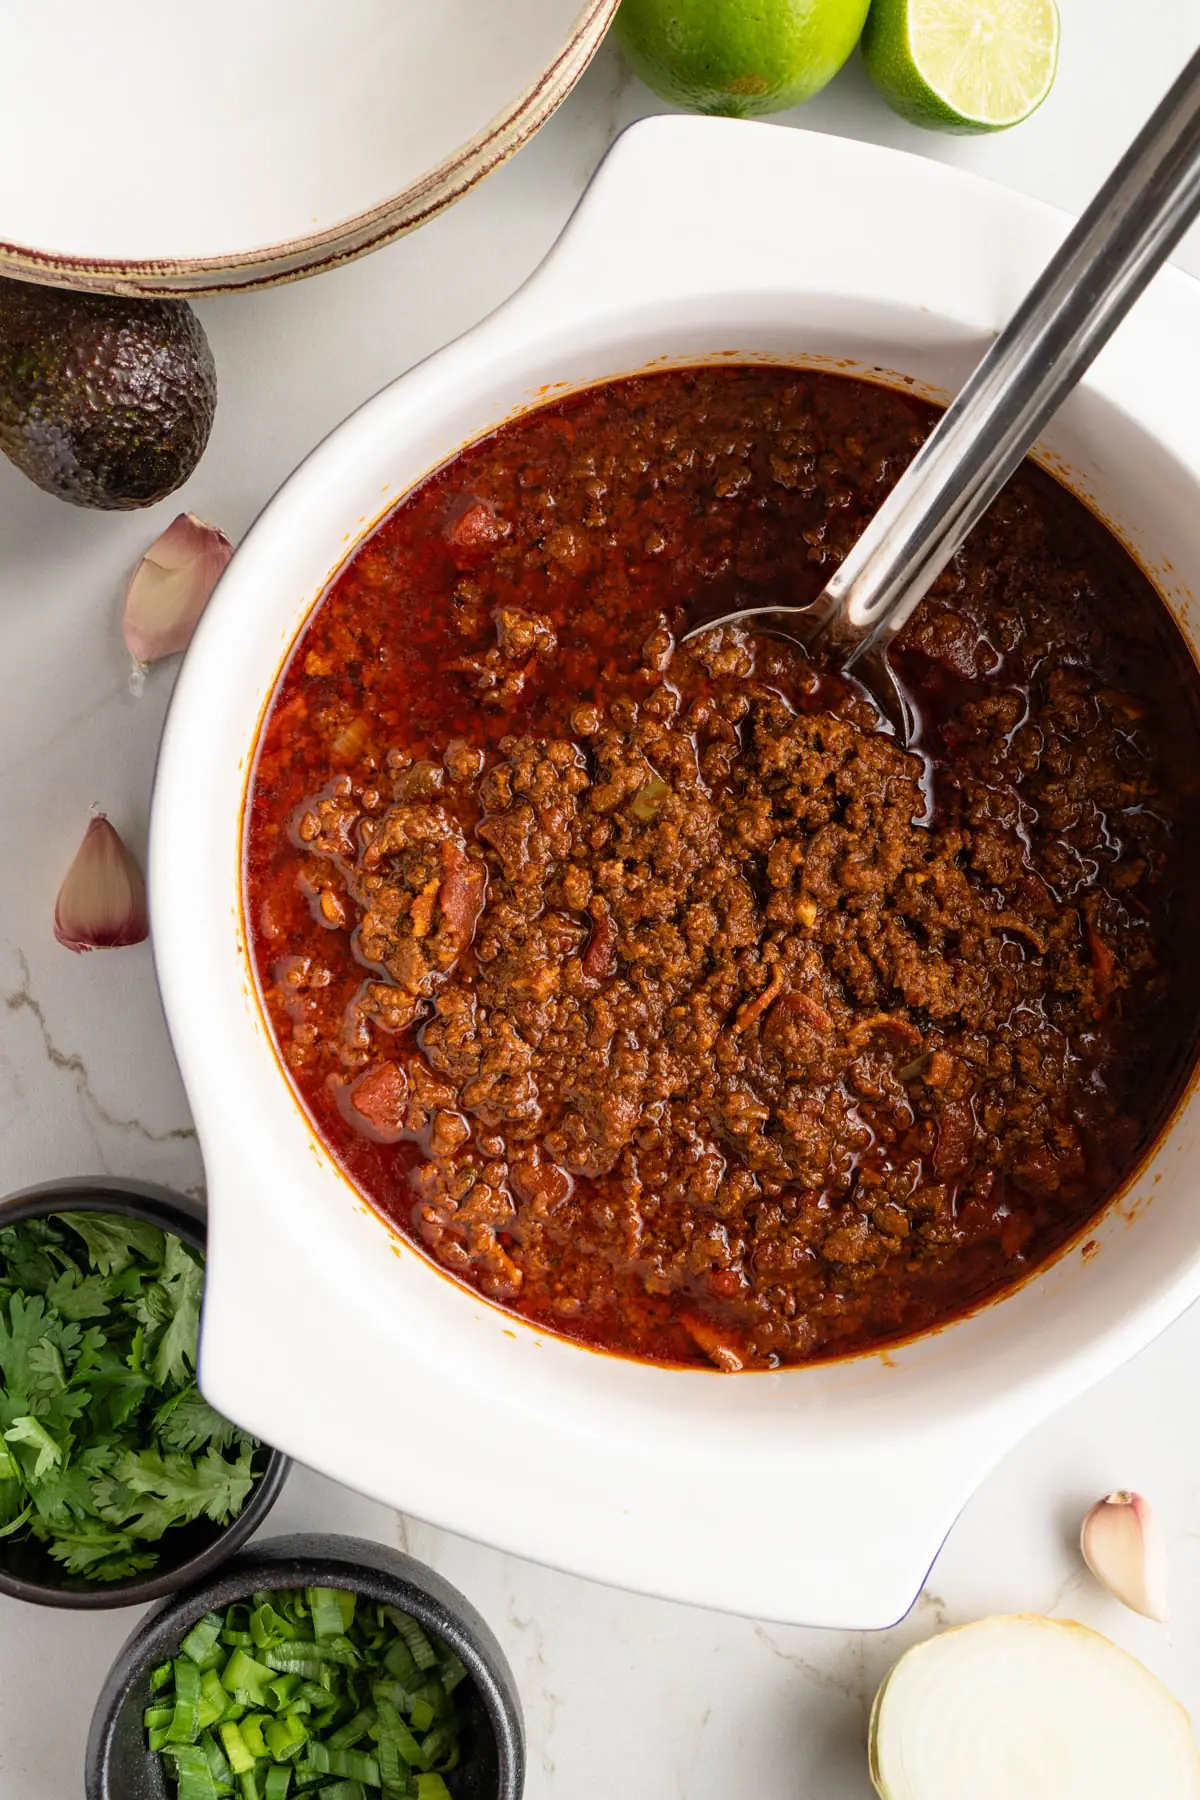
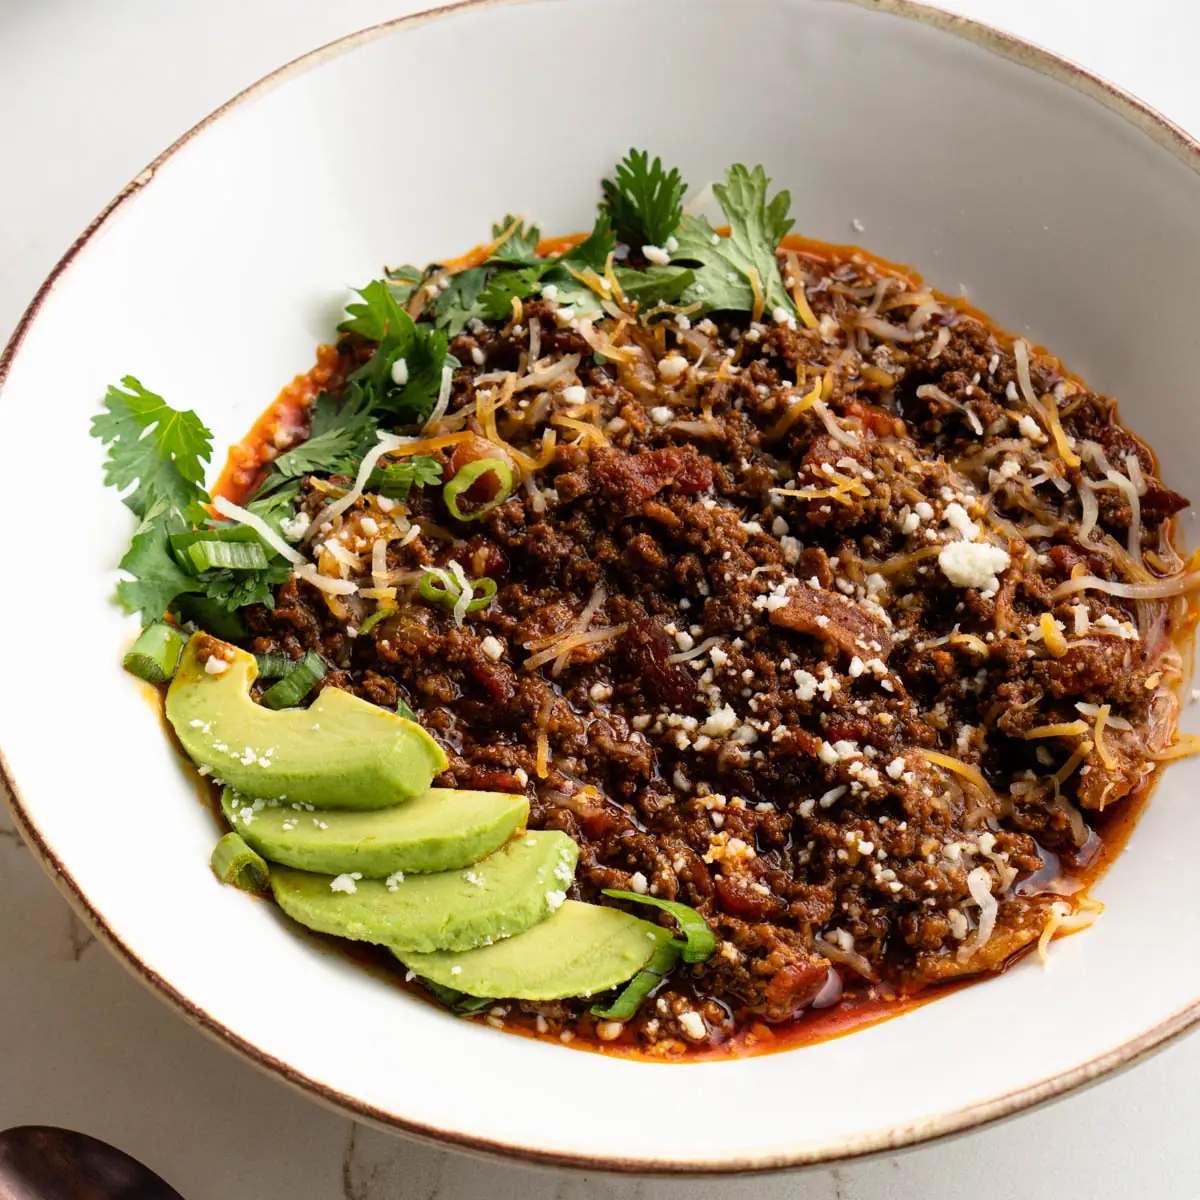
If you’re searching for a tried and true beanless chili recipe, look no further! This homemade no beans keto chili con carne with bacon and Rotel really hits the spot. Not only is it low-carb, but it’s also thick, hearty, and packed with savory flavor, making it an excellent keto comfort food. It’s also effortless and can be made in an Instant Pot pressure cooker, Crockpot slow cooker, or on the stovetop.
Chili con carne translates to “chili with meat” and can be prepared without beans without sacrificing flavor. By nixing the beans, you’re eliminating tons of carbs from the dish, making it automatically more keto-friendly.
Making homemade chili is foolproof. If you can brown meat, you can make chili. Simple as that! It’s also a much better option for ketogenic dieters. The canned, commercial options often contain soy flour, cornflour, sugar, and cornstarch. That means even if you snag a can of no beans chili con carne off the shelf, chances are it’s loaded with carbs. Choosing low-carb ingredients and excluding the flours, sugars, and starches helps keep the meal in line with a keto dietary pattern.
The style is akin to Texas chili or cowboy chili. Since there are no beans, it’s got a similar beef stew vibe that is lick-the-bowl delicious.
Jump to:
🥗 Ingredients
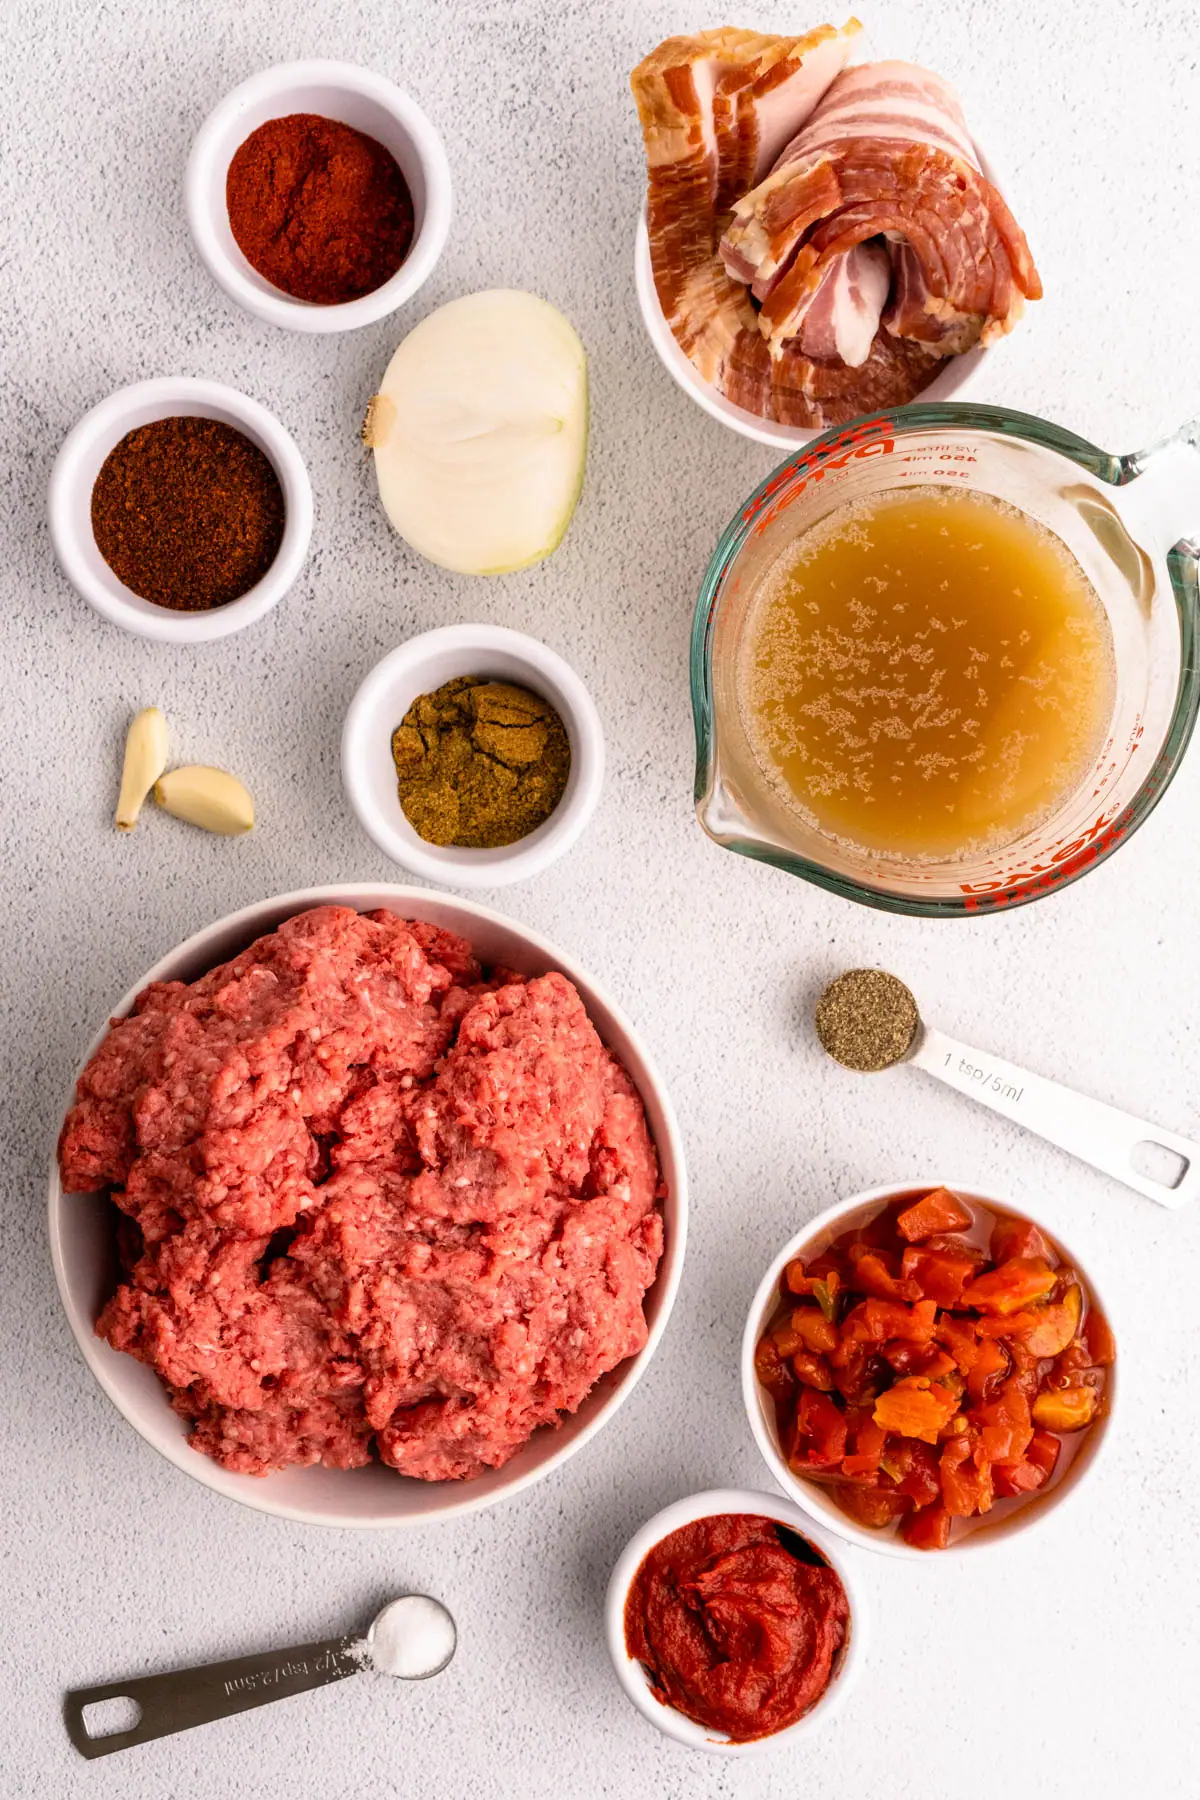
To make keto chili con carne, you’ll need the following ingredients:
- Bacon
- Onion
- Garlic cloves
- Ground beef
- Beef broth
- Tomato paste
- Chili powder
- Cumin
- Smoked Paprika
- Black pepper
- Salt
- Rotel (Ro-Tel) diced tomatoes and green chilies
The ingredients selected keep the carbohydrates low while maintaining the integrity of the expected flavors in the dish.
🧪 Variations
Thickeners
You may have noticed the lack of sugars, flours, and starches typically found in commercially available chili in the list above. The purpose of these types of ingredients is less about flavor and more about ensuring a thicker texture.
While it isn’t necessary, you may want to add a keto-friendly thickening agent to achieve similar results. Guar gum and xanthan gum are popular additions to thicken and bind keto recipes.
To use guar gum, you’ll only need about ⅛ teaspoon whisked in with the beef broth. Sprinkle the guar gum over the liquid to prevent clumping and whisk vigorously.
To use xanthan gum, you’ll need about ⅛ teaspoon blended in with the beef broth. Xanthan gum clumps up almost immediately, so you will need to use an electric blender to effectively mix this instead of by hand.
Adding too much of either ingredient can lead to gummy or clumpy results, so be cautious about the total amount added to the dish.
Meat
The recipe as written calls for ground beef and bacon, which is an undeniably killer combo. However, you can switch it up.
You can swap ground beef with a ground protein of your choice. Ground pork, turkey, chicken, bison, venison, or lamb would make excellent substitutes that are all keto-friendly.
Alternatively, you can combine multiple types of meat in the keto chili con carne, browning them together as you prepare the recipe. Try doing half and half ratios, such as one pound of ground beef and one pound of ground pork. That’s a tried and true meat combination from this tomatillo instant pot keto chili.
For the pork-free crowd, you can omit the bacon from the recipe. Just add your preferred cooking oil to the recipe to sauté the onion and garlic.
Rotel
If you don’t have Rotel (Ro-Tel), you can use any other canned diced tomatoes and chilies or dice up fresh chilies and tomatoes. Use two medium-sized tomatoes and small green chili pepper to replace one 10-ounce can.
Ro-Tel diced tomatoes and green chilies come in various spice levels and flavors––original, mild, hot, chipotle, and Mexican style. If you’re using Ro-Tel, select the spice level that best suits your palate.
⏩ Instant Pot
Making Instant Pot keto chili is quick and simple, like pressing the fast-forward button on dinner. It’s an excellent option for an easy one-pot dinner when you’re in a hurry.
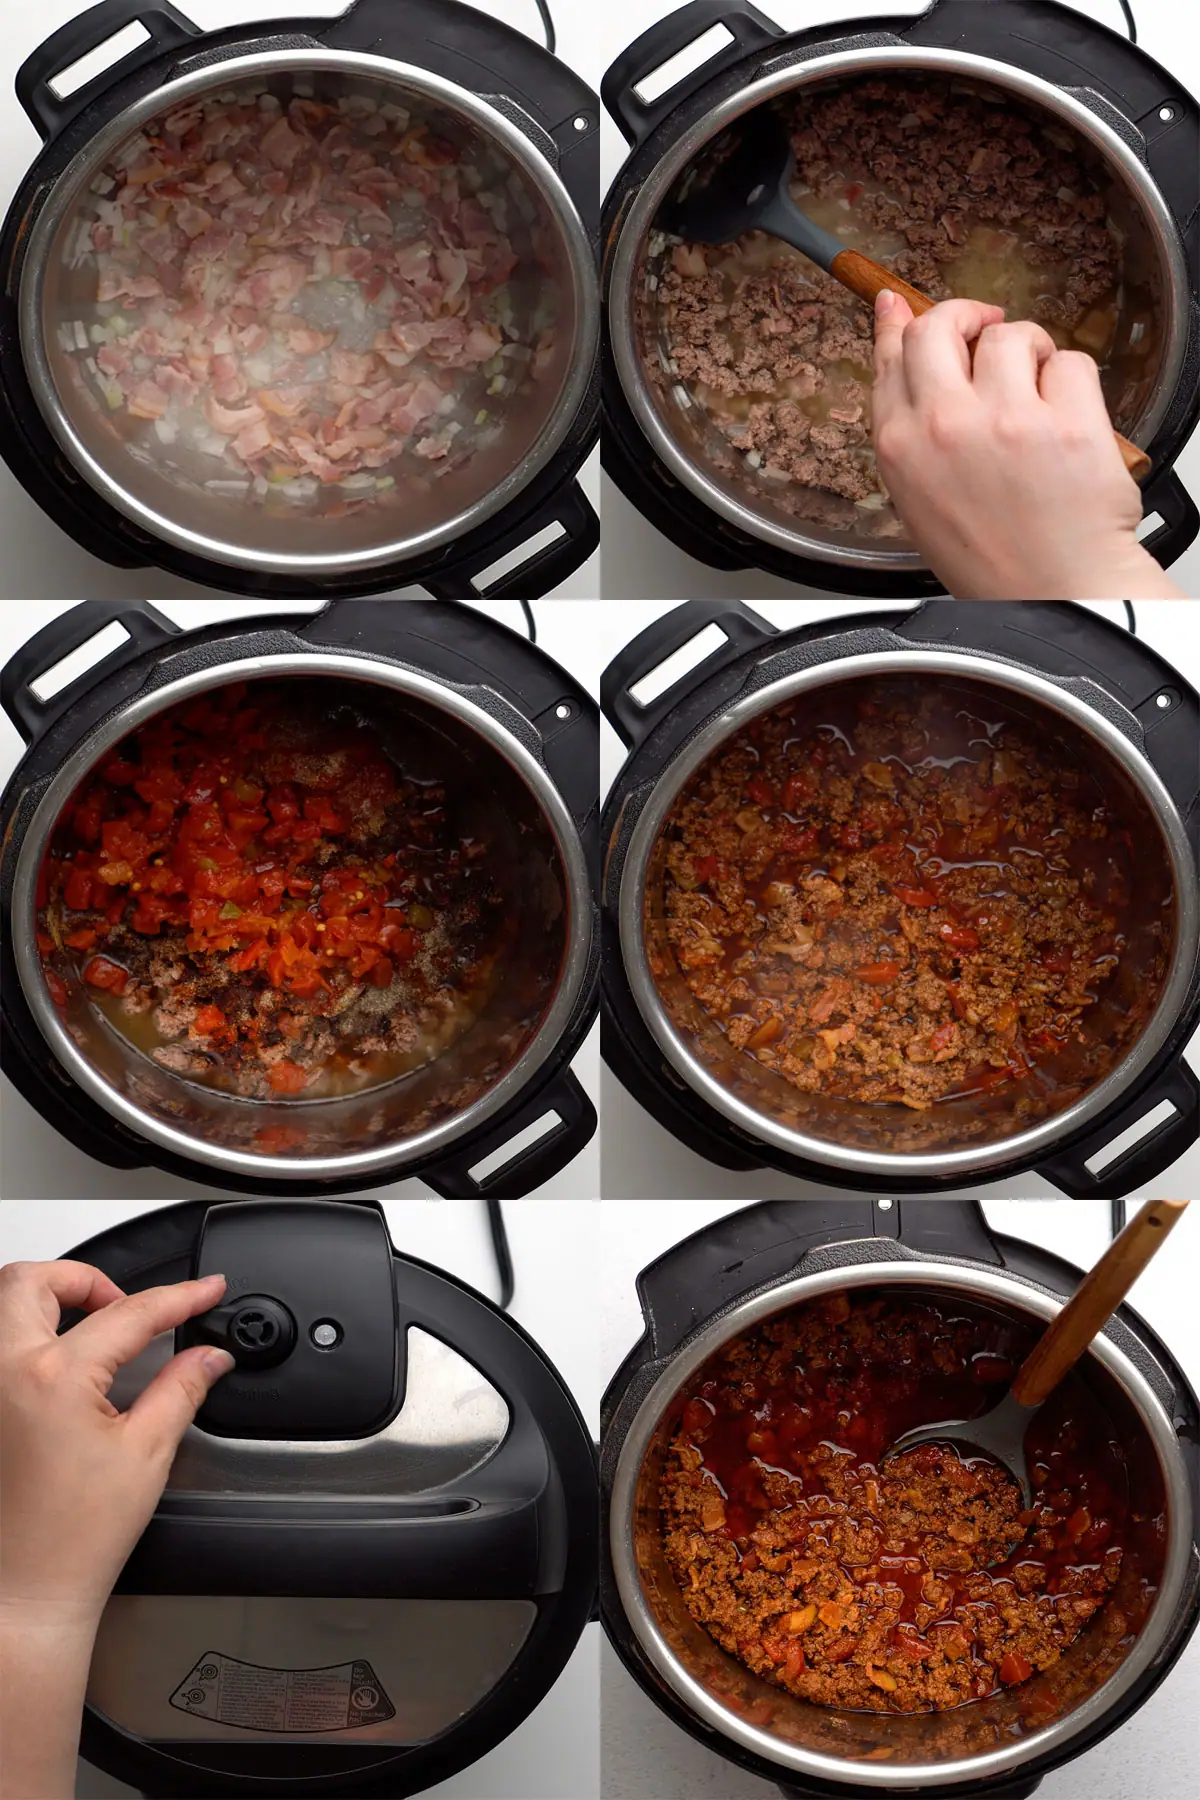
Press the sauté button on the Instant Pot to heat the inner metal pot, then add chopped bacon and onion to the pan. Since the bacon releases fat as it cooks, this acts as the cooking oil. Add garlic to the pot and cook until it becomes fragrant.
Add ground beef (or protein of choice) to the pot and break into smaller chunks as it browns.
Once the beef has browned, use beef broth to deglaze the pot and scrape down any bits stuck to the pan.
Now toss the rest of the ingredients in, give it a good mix, and seal the lid.
Set the Instant Pot to “High Pressure” and adjust the time to 15 minutes.
When the alarm sounds, press the “Keep Warm” button and release the pressure manually or naturally.
To manually release, carefully turn the top knob from “sealing” to “venting” and watch out for the quick release of steam that vents. Allow the visible pressure valve to drop entirely before attempting to remove the lid.
Natural release is when you let the Instant Pot cool down by itself and release steam slowly. When it’s done cooking, simply press the “Keep Warm” button and wait for the visible pressure valve to drop. This can take up to 30 minutes but gives the flavors additional time to develop. It tastes excellent and is worth the wait if you have extra time.
Remove the lid, give it a final stir, and serve!
🥘 Crock-Pot or Slow Cooker
Crockpot chili is a great “set it and forget it” option for entertaining, meal prepping, and busy days. To make keto chili in a crock-pot, you will need a large sauté pan in addition to the slow cooker.
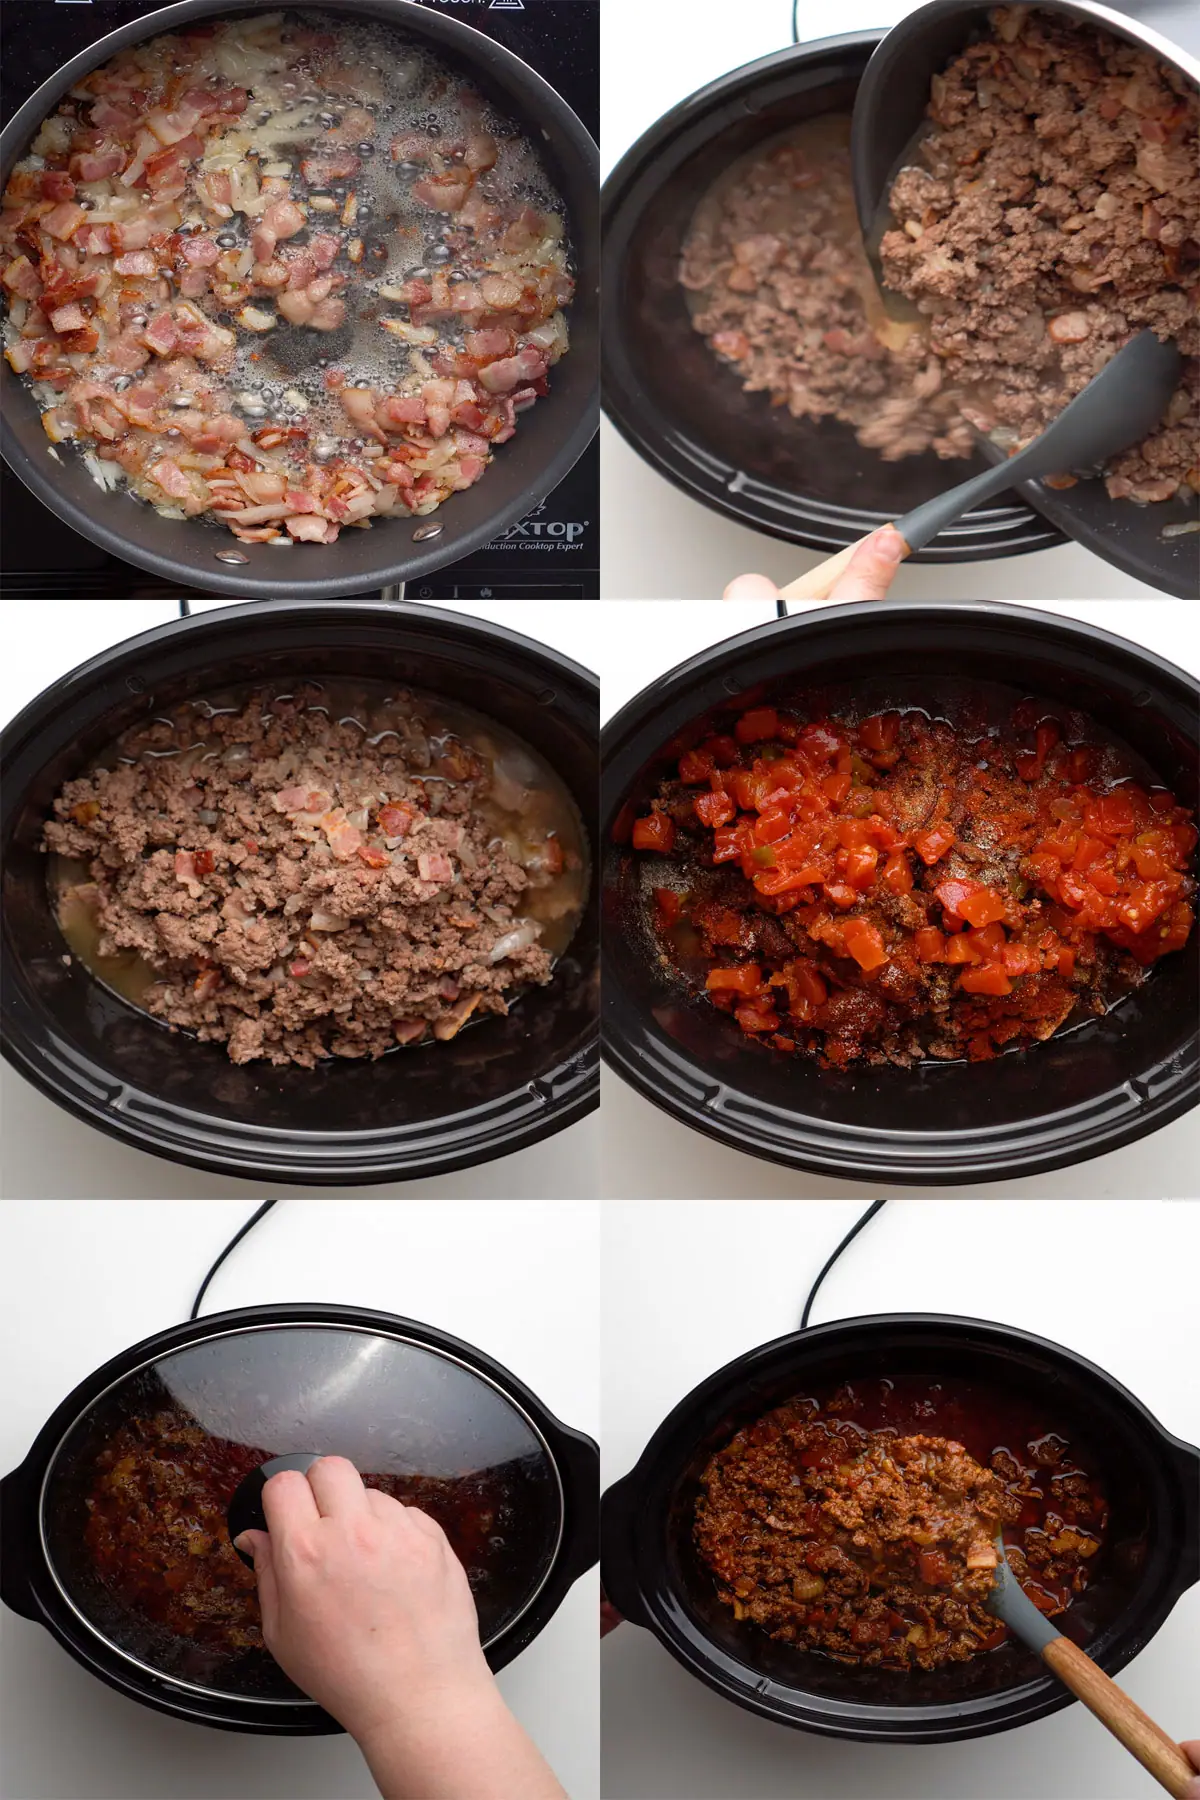
Before adding anything to the crock-pot, the meat must be browned and the onion and garlic sauteed. Add the bacon and onion to a hot sauté pan, add garlic once onions become translucent, then add ground meat and break into small pieces.
Once the meat has browned, transfer the meat mixture to the slow cooker, followed by the remaining ingredients. Stir everything together and top with the lid.
Turn the temperature knob to low or high, depending on how long you want to cook the chili. At low temp, the chili cooks for 6 to 8 hours. At high temp, the chili cooks for 4 to 6 hours.
If needed, stir a small amount of water into the chili if it becomes thicker than you prefer.
Once it’s finished cooking, simply turn the knob to “warm” until you’re ready to serve.
Suppose you have an Instant Pot but prefer to slow cook. In that case, you can use the slow cooker function instead of the pressure option. Instead, press the slow cooker button. Select “normal” and cook for 6 to 8 hours or choose “high” for 4 to 6 hours.
🍲 Stove Top
Making the recipe on the stovetop is a great option if you don’t have any specialized equipment. This is a simple one-pot meal that is ready in under an hour.
For stovetop, using a stockpot or enameled cast iron pot works best. Avoid using regular cast iron as the acidic tomato ingredients aren’t good for the pan.
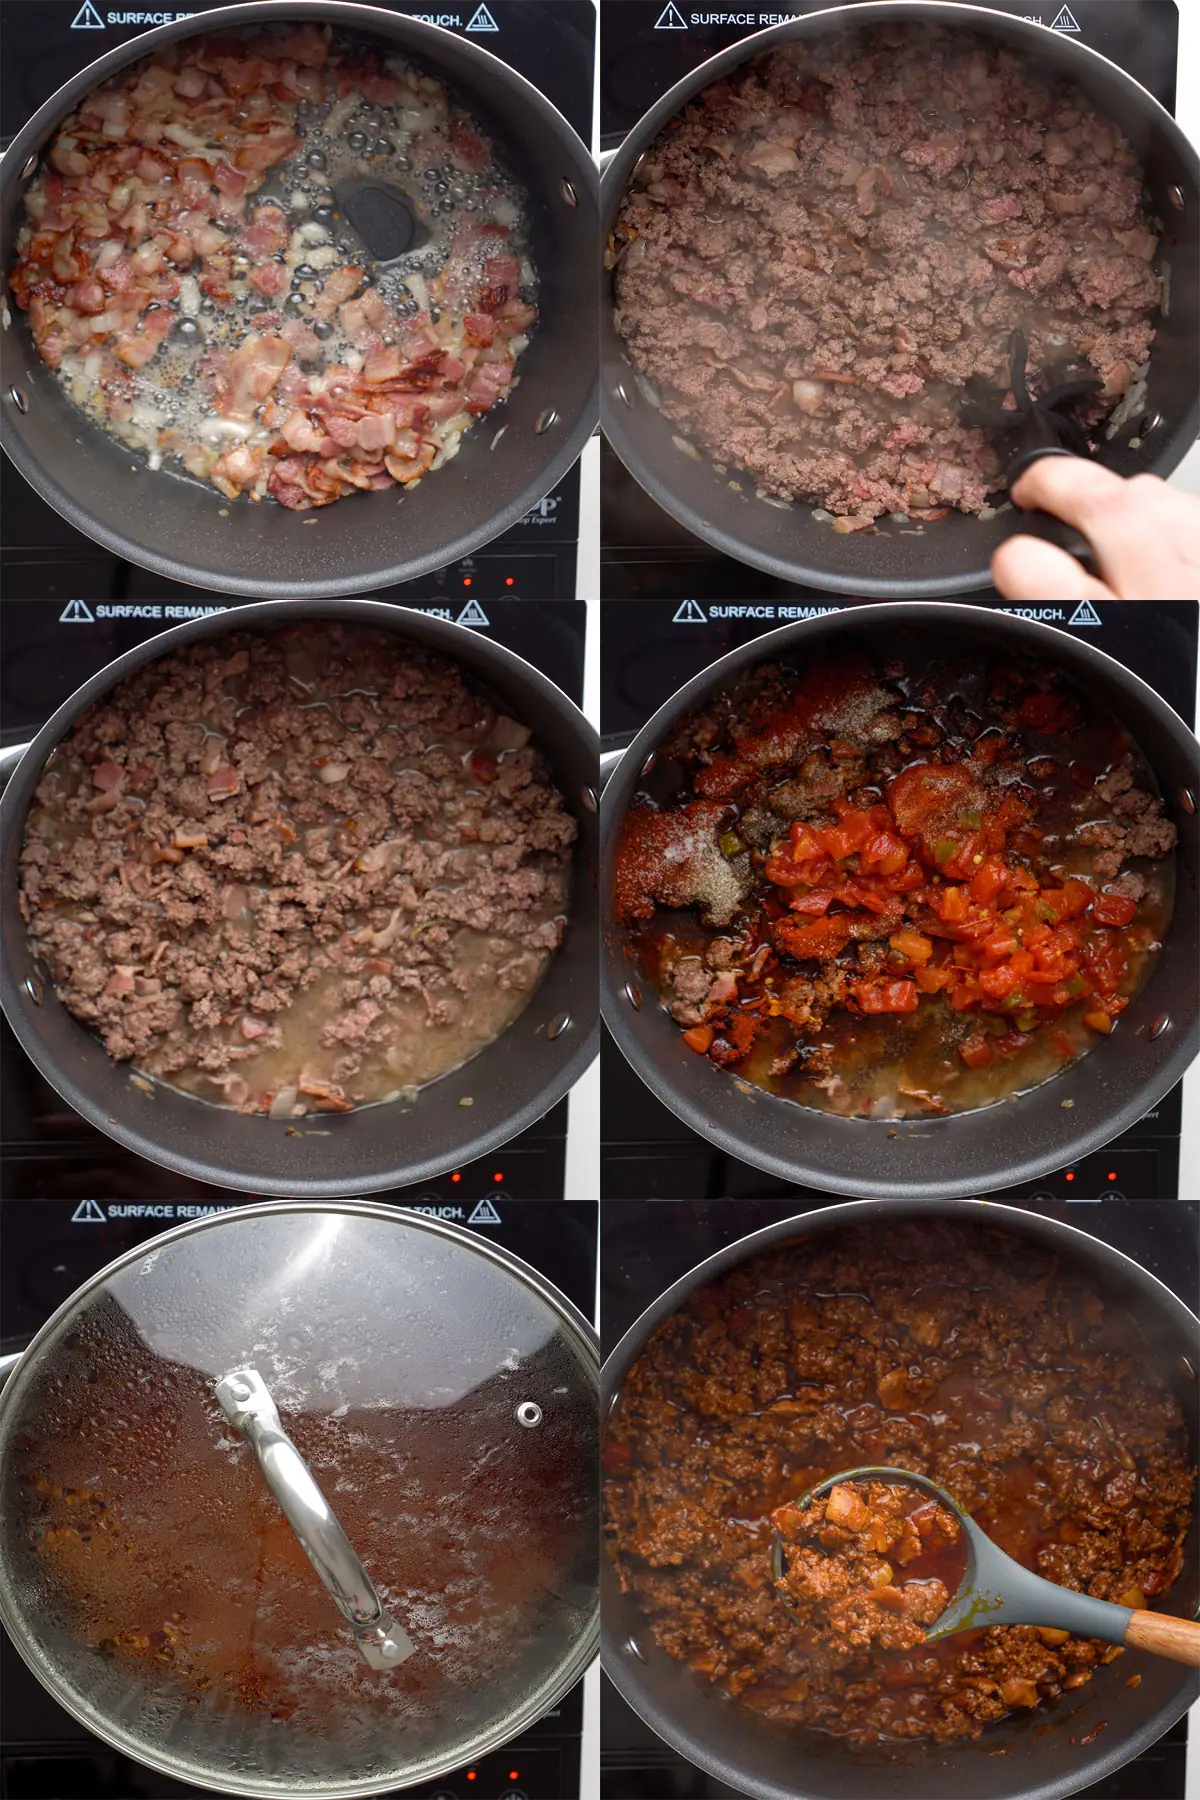
Cook the bacon and onion over medium heat. Once onions are translucent, cook garlic until fragrant. Add the ground beef next.
Chop the meat into smaller pieces while browning, then deglaze the pot with beef broth once the meat is cooked.
Add in the remaining ingredients, stir well, and bring to a boil.
Reduce heat to low-medium and simmer covered for 30 to 40 minutes.
Remove from heat, and it’s ready to serve for dinner.
🧊 Storage & Freezer
The flavor is even better the next day, which means incredible leftovers for lunch and an excellent option for make-ahead meal prep, batch cooking, and freezer meals.
In the fridge, the chili will last up to one week stored in an airtight container. Allow the chili to cool to room temperature before sealing in a container and placing it in the refrigerator.
When ready to serve, reheat on the stovetop or in the microwave until warm, about 1 minute per serving, mixing periodically.
Alternatively, transfer refrigerated chili to a freezer container to extend the shelf life if unable to eat within the week it was cooked.
In the freezer, it will last up to 6 months in a freezer-safe storage container. If freezing directly after cooking, allow the chili to cool to room temperature before sealing it in a freezer-safe container and placing it in the freezer.
On the day you plan to serve, thaw the frozen chili in the fridge. Reheating can be a job for the microwave, stovetop, or oven (400 degrees) depending on the storage container, about 1-2 minutes per serving.
💭 Top tip
Storing the keto chili con carne in the refrigerator overnight gives the flavors even more time to develop. Honestly, it tastes just as good a week later from Tupperware as it does hot out of the pot.
Consider doubling the recipe to have enough to freeze for an effortless make-ahead dinner. Or serve the first half to the family for dinner and the second half to pack lunches all week. No one will complain about this meal on repeat. It’s that delicious!
👪 Serving Size
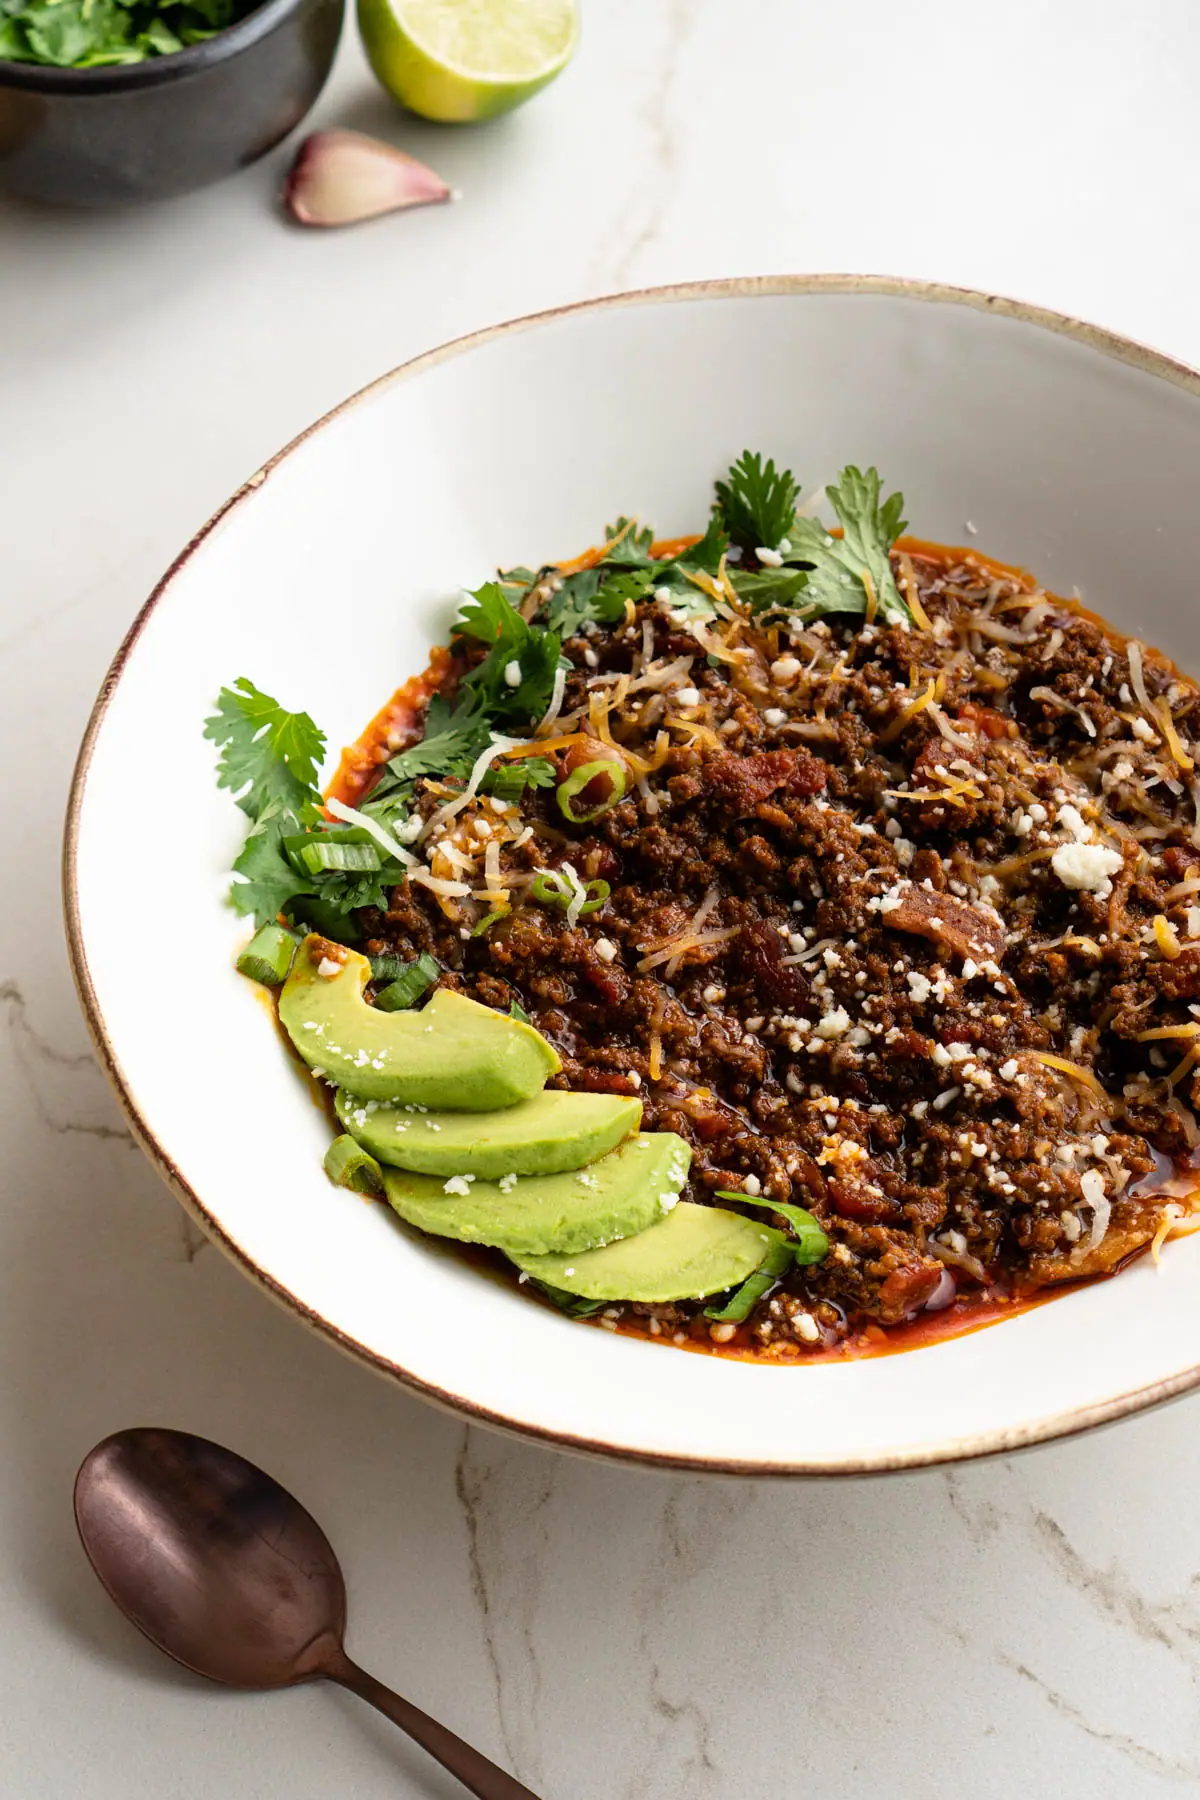
The recipe yields six 1 cup servings, but you can scale it up or down in the interactive recipe card below.
There are only 5 net carbs for each 1 cup serving size.
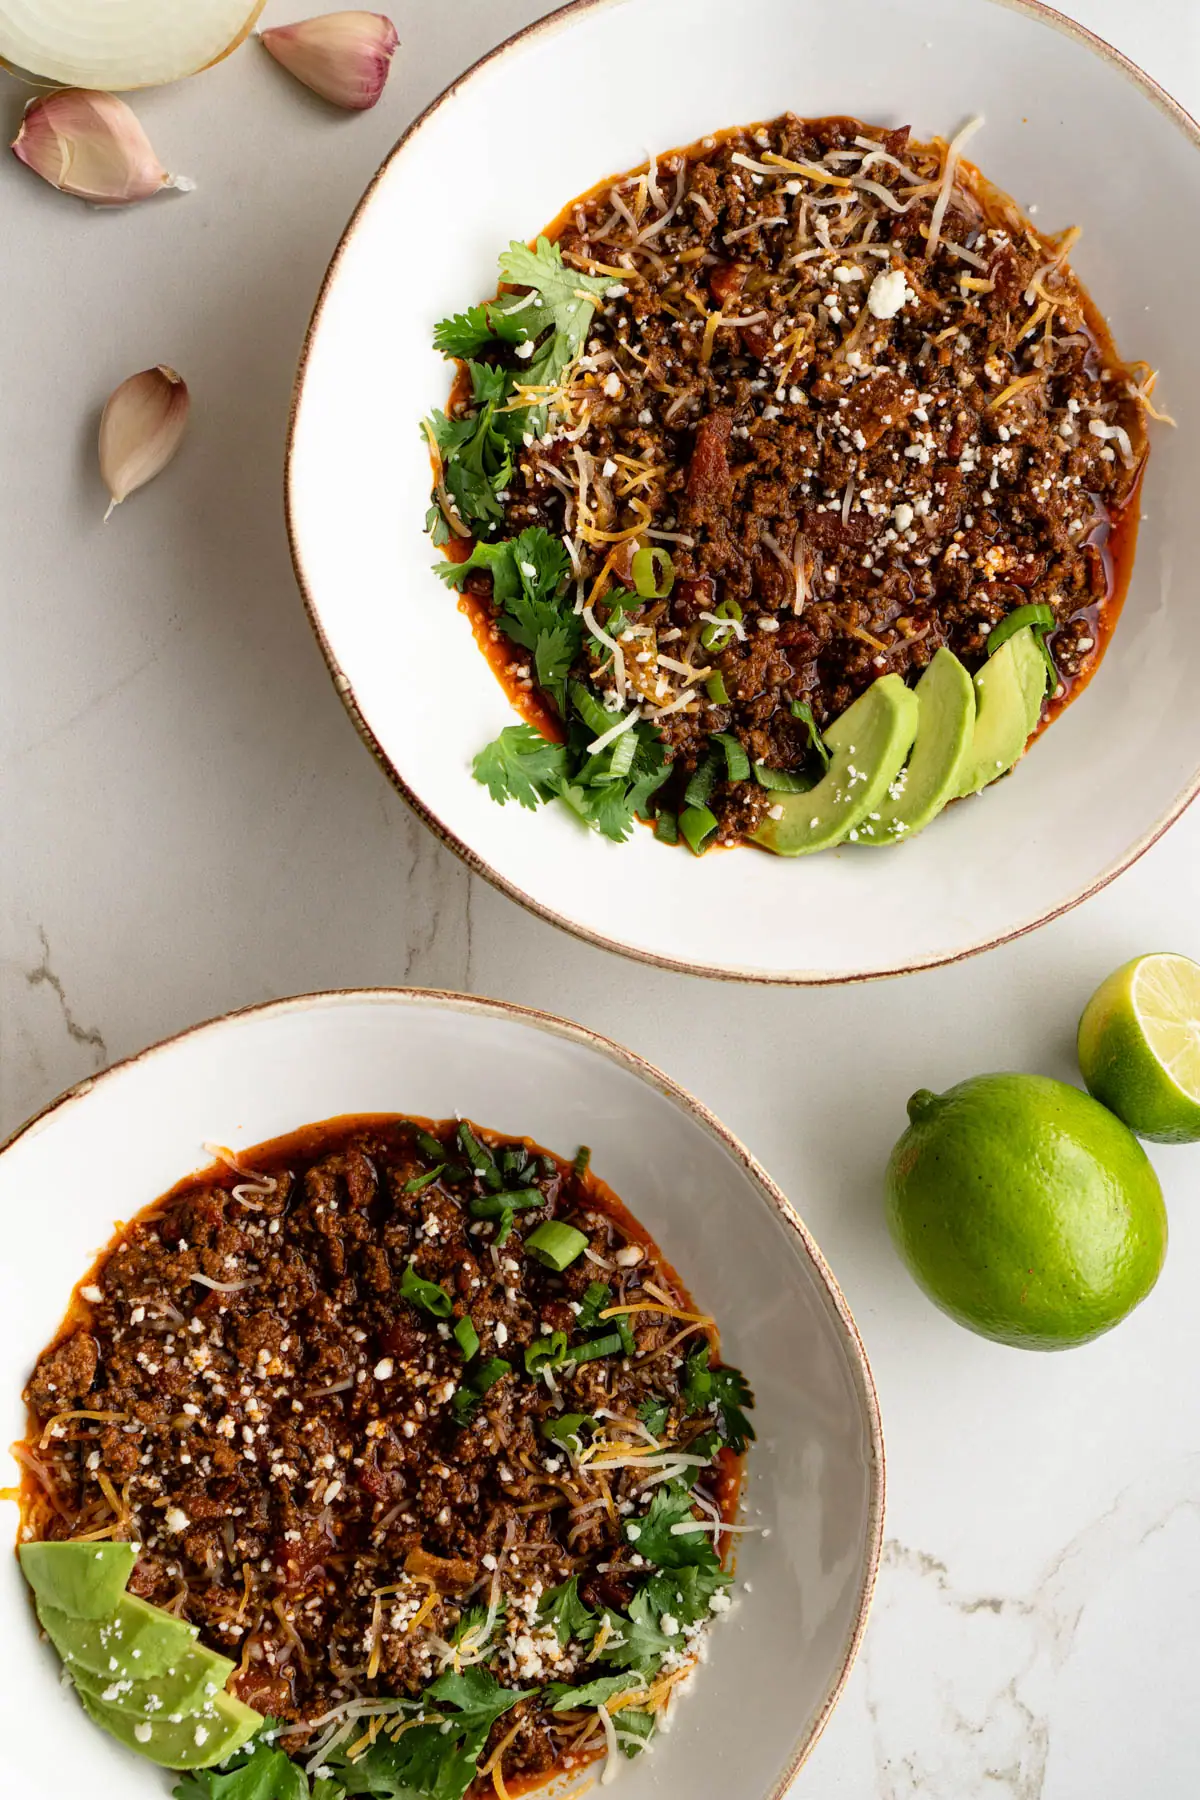
When ready to serve, garnish with your favorite keto-friendly toppings or mix-ins to really kick it up a notch––avocado, sour cream, crema, green onions or scallions, diced red onions, cilantro, any kind of crumbled or grated cheese, sliced jalapeño, nutritional yeast, hot sauce, you name it.
Set up a chili bar for your family and friends with prepared dishes of the various garnishes so they can pick and choose their favorites. (#bestmomever)
🍽️ Equipment
Instant Pot – An electric pressure cooker that totally lives up to the hype.
Crockpot – If slow and low is the way to go, you’ll need one of these.
Enameled cast iron dutch oven – The ease of cooking with cast iron with extra protection against acidic ingredients. Plus, clean-up is a breeze!
Meat chopper – Not totally necessary but can be a game-changer for breaking meat into smaller pieces while browning. Quickly break down meat into smaller chunks without damaging your lovely pans.
🥑 More keto recipes
If you like chili, then you’re going to love these other keto-friendly recipes:
Shredded Chicken Chili
Tomatillo Chili in Pressure Cooker
Low Carb Hand Pies Stuffed with Chili
Keto Chili Dog Pot Pie Casserole
Low Carb Chili Mac
❓FAQ
In just one cup of traditional canned chili with beans, there are 33.89g of total carbs.
In a commercial no bean chili con carne, there are 19g total and 16g net carbs per cup.
This will vary by brand and actual serving size. However, the carbs in a bowl of commercially prepared chili are generally a bit high for someone doing the standard keto diet due to the beans and high-carb additives.
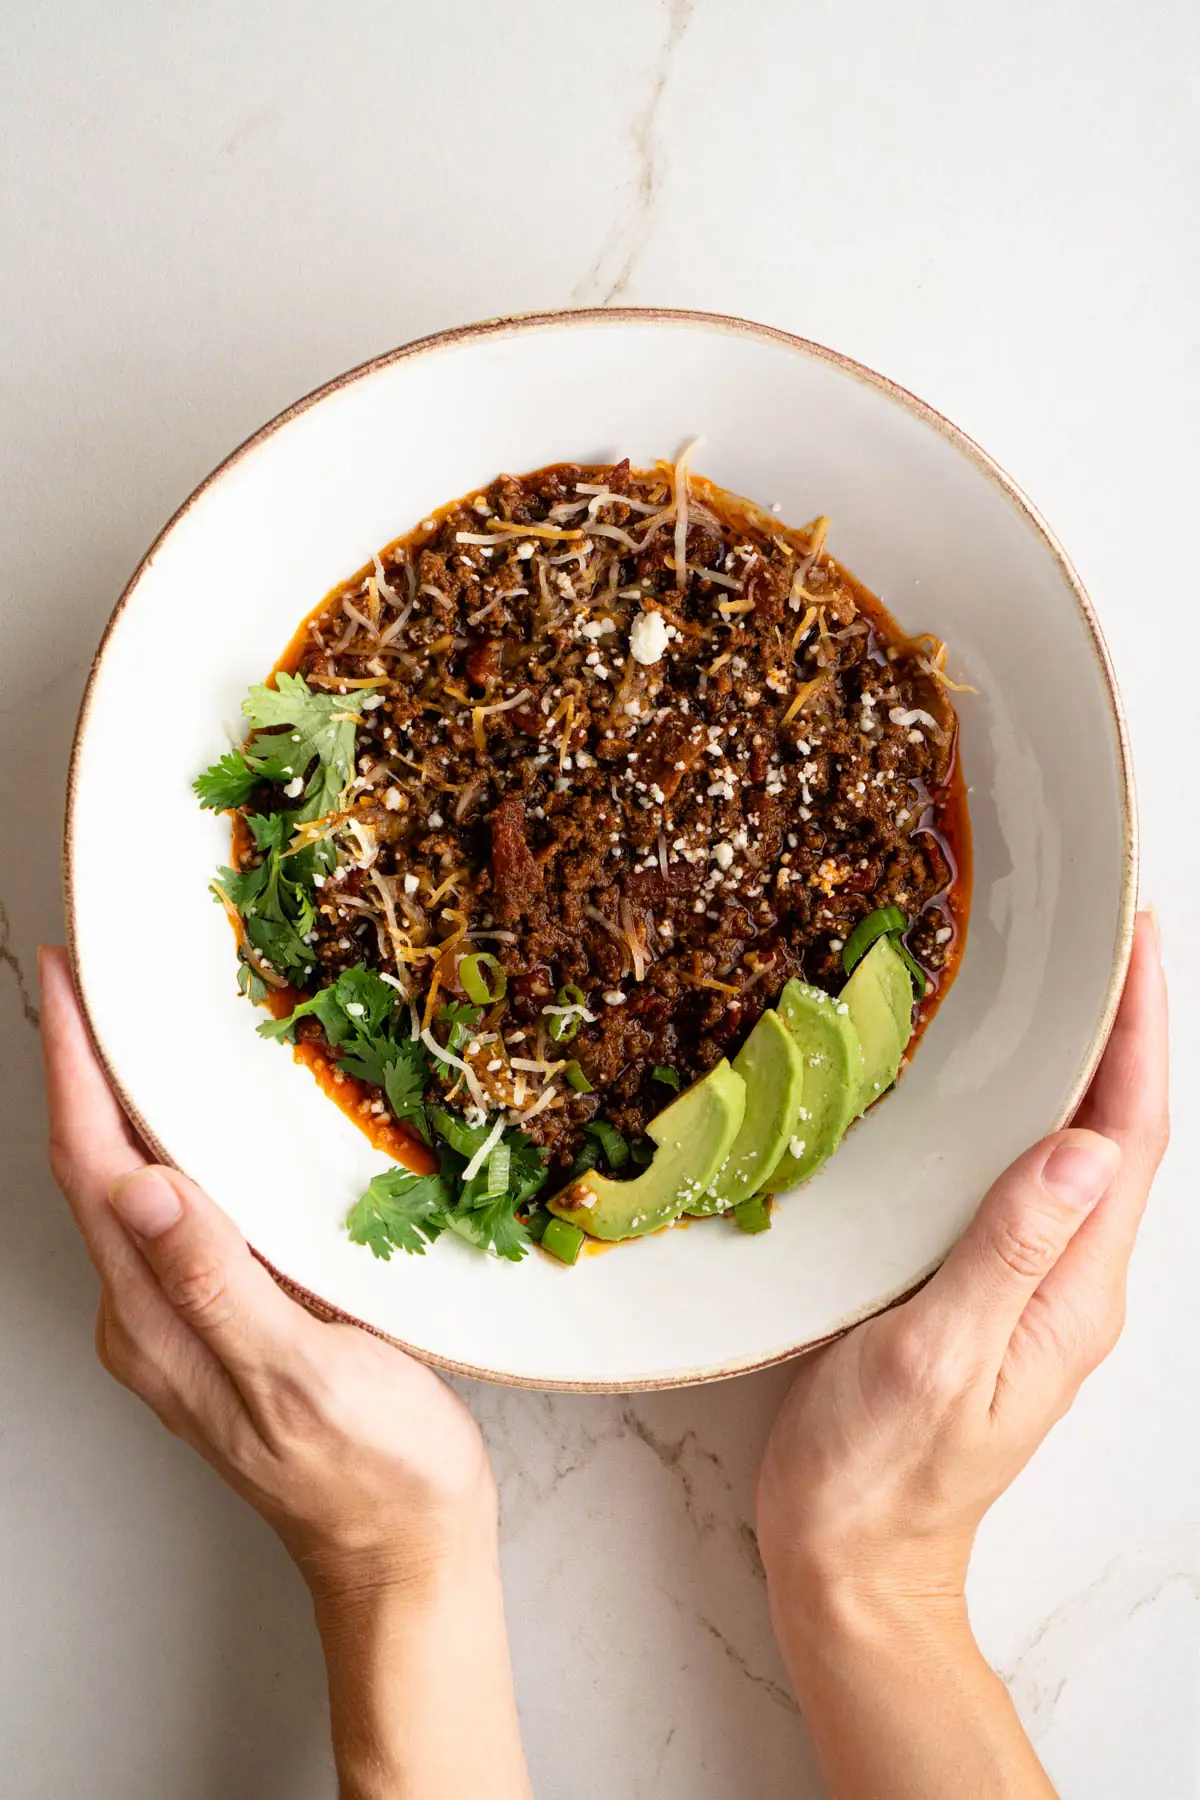
Carbs in chili look a little different from a homemade perspective. As written, a serving (~1 cup) of this keto chili recipe has just 5g net carbs and a total carb count of 7.4g.
In fact, the entire recipe—the WHOLE pot of chili—has approximately 44g total carbs and 30g net. Not too shabby! That’s around the carb load of what you’d be getting in only a cup of canned chili with beans.
When it comes to keto chili con carne, homemade definitely wins.
A good substitution for beans in chili includes harder, non-starchy vegetables that soften up as the chili cooks to simulate the texture of cooked chili beans. Pieces of cauliflower, chayote, radishes, celery, or turnips would all be fantastic bean swaps for keto chili!
Green beans and soybeans are relatively low in carbs compared to other beans, making them one of the few keto-friendly bean options.
Black soybeans would be a good keto option if you prefer a keto chili with beans. These legumes have a substantially lower carbohydrate count than the traditional kidney bean and are very high in fiber.
In a half cup of canned black soybeans, total carbs are 8g, and fiber is 7g—a net carb count of just 1g! This certainly isn’t a bad option if you include soy in your diet.
📖 Recipe
Servings: cups
Serving Size: 1 cup (241g)
Net Carbs: 5g
Instructions
Prep Work
-
Prepare onion and bacon for cooking. Remove thin papery outer layers of onion and chop or dice on a cutting board.
-
Cut bacon into small, ¼-inch thick strips.
-
Use a garlic press to crush garlic cloves or finely mince with a knife.
Instant Pot Instructions
-
Plug the Instant Pot in and remove the lid. Press the sauté button to heat the stainless steel inner cooking pot.
-
Add bacon and onions to the heated pot, stirring frequently to prevent burning. Cook until the onions become translucent. Mix in garlic and cook until it becomes fragrant, about 1 minute.
-
Add ground beef (or protein of choice) to the pot to brown. Use a meat chopper tool or spatula to break the beef into smaller pieces as it browns. Continue cooking until there is no visible pink remaining in the ground beef.
-
Pour beef broth into the pot and scrape down any food particles that are stuck to the inner sides or bottom of the pot. Stir to incorporate these bits into the meat mixture.
-
Add in tomato paste, chili powder, cumin, smoked paprika, pepper, salt, and Rotel (or diced tomatoes and chilies).
-
Mix well, then seal the lid. Ensure the knob on lid is set to “sealing” and not “venting.”
-
Press the “Manual” button and adjust the cook time to 15 minutes using the +/- buttons to change the default setting. Ensure the Instant Pot is set to “High Pressure.”. The device will take several minutes to build up to pressure before the cook time countdown begins. The float valve on the lid near the sealing/venting knob will pop up when the device has reached pressure.
-
When the alarm sounds, press the “Keep Warm” button. Allow the pressure to release naturally or manually. For natural release, allow the Instant Pot to cool by itself and wait for the float valve to drop before removing the lid, about 20 to 30 minutes. For manual release, carefully turn the top knob from “sealing” to “venting” and avoid vented steam. Allow float valve to drop completely before attempting to remove the lid.
-
Remove the lid and stir well before serving. Serve immediately or package for storage in refrigerator or freezer after cooling to room temperature.
Crockpot or Slow Cooker Instructions
-
In a large, deep sauté pan, cook bacon and onion over medium heat until onion is translucent. Incorporate garlic into mixture and cook until fragrant, about 1 minute. Add ground beef and break into smaller pieces as it browns with a spatula or other utensil.
-
When ground beef has browned and no visible pink remains, pour beef broth into the pan and scrape down any food bits stuck to the sides or bottom of pan.
-
Transfer meat mixture to crockpot or slow cooker and add the remaining ingredients–tomato paste, chili powder, cumin, smoked paprika, pepper, salt, and Rotel (or diced tomatoes and green chilies). Mix well and secure lid on crockpot.
-
Ensure the crockpot is plugged in. Adjust the cook settings to low temperature and cook for 6 to 8 hours. Alternatively, set to high temperature and cook for 4 to 6 hours. Set an alarm reminder if needed. If chili becomes too thick as it cooks, add in a small amount of water and mix well.
-
When chili has finished cooking, mix well and set the temperature to “warm” until ready to serve. If storing for later, allow to cool to room temperature for refrigerated or freezer packaging.
Stovetop Instructions
-
Heat a large stockpot or enameled cast iron pot on the stovetop over medium heat. Add bacon and onions, stir occasionally to prevent burning. When onions are translucent, mix in garlic and cook until fragrant.
-
Add ground beef to pot and break into small pieces as it cooks. When meat has browned with no visible pink remaining, add beef broth to pan to deglaze the pan, and scrape the sides and bottom to remove and incorporate stuck food particles.
-
Add tomato paste, chili powder, cumin, smoked paprika, cumin, black pepper, salt, and Rotel (or diced tomatoes and green chilies). Combine well and bring the mixture to a boil.
-
Reduce heat to low-medium and simmer covered with lid for 30 to 40 minutes, stirring occasionally to prevent burning. Stir in a small amount of water if mixture becomes too thick while cooking.
-
Remove from heat and serve immediately or package for storage in refrigerator or freezer after cooling to room temperature.
Garnish (optional)
-
Add additional salt and pepper to taste. Garnish with your favorite keto-friendly toppings or mix-ins. Suggested garnishes include avocado slices, crumbled or grated cheese, hot sauce, sour cream, chopped cilantro, diced red onions, green onions or scallions, or nutritional yeast.
Video
Notes
Nutrition
Nutrition Facts
No Beans Keto Chili Con Carne
Serving Size
1 cup (241g)
Amount per Serving
% Daily Value*
* Percent Daily Values are based on a 2000 calorie diet.

Hi, I’m Tasha–nutritionist, recipe developer, and multi-published cookbook author.

